
[vc_row][vc_column][vc_column_text]
Cabinets and drawers often undergo neglect when it comes to maintenance. Much like doors and windows, they require occasional adjustments for optimal performance. While most adjustments are made during installation, it’s advisable to perform periodic checks, especially after a year, as drawers may shift or expand due to the weight they carry, and cabinets, particularly wooden ones, can contract or expand with changes in heat and moisture.
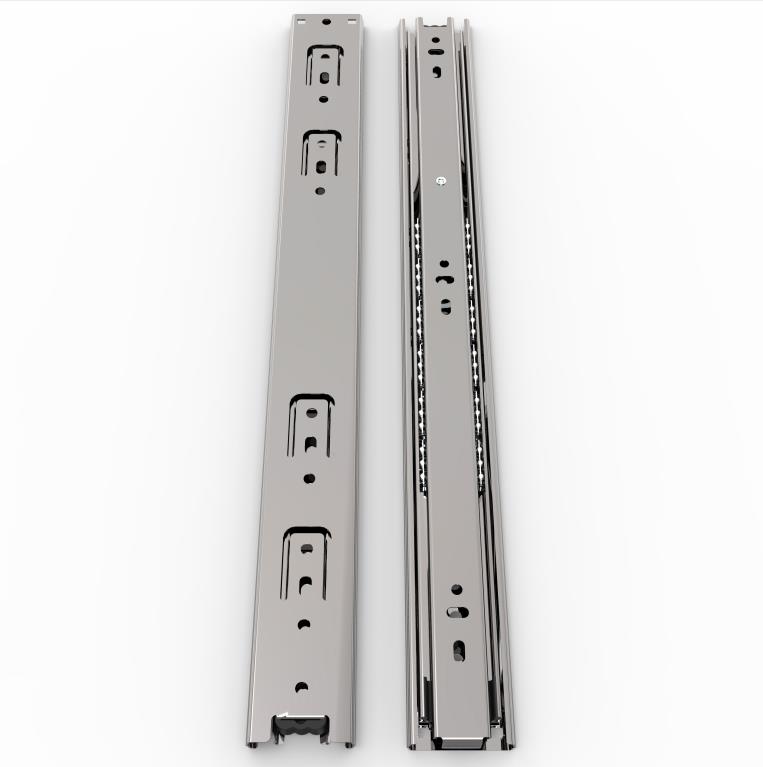
Drawer slides, available in various types such as nylon plastic, side mounts, under mounts, and ball-bearing slide rails, demand different maintenance approaches. Here’s a step-by-step guide on how to adjust drawer slides:
The Adjustment Process
Adjust the Height:
- Remove the drawer and measure it.
- Use a level to ensure the drawer slides are parallel and level.
- If not, loosen the screws on the slides and adjust the height.
- Once level, tighten the screws.
Adjust the Depth:
- Check if the drawer slides are equidistant from the front of the cabinet.
- If not, measure the distance and adjust the slide forward if needed.
- Once even, tighten the screws.
Adjust the Tilt:
- Determine if the drawer is tilting and identify the problematic slide.
- Loosen the screws on that slide and adjust until the drawer is level.
- Tighten the screws.
Check for Bent or Misaligned Slides:
- Inspect the slides on the sides or bottom of the drawer.
- Unscrew slightly to check for misalignment or bending.
- Lubricate both parts of the slides.
- Tilt the drawer slightly to connect the slides before fully inserting it.
- Check adjustment tabs or tilt adjusters for further tilt control.
Assess Screw Threads and Drill Holes:
- If screws are loose or moving, check if they’ve lost their thread.
- Replace screws that aren’t going in well.
- If drill holes are enlarged, patch them up and drill new ones.
Consider Replacing Nylon Slides:
- If nylon plastic slides are dysfunctional, consider replacing them.
- Nylon slides are affordable, and replacing them avoids intricate repairs.
- Opt for steel slides for improved durability and weight capacity.
Adjusting drawer slides is a manageable DIY task, but if uncertain, professionals can assist. Observing their process and asking questions equips you for future adjustments. Professionals can recommend suitable tools, lubricants, and even alternative slide brands if an upgrade is desired. Regular maintenance ensures smooth drawer operation and prolongs the lifespan of the slides.[/vc_column_text][/vc_column][/vc_row]