
The ironing board has been a necessary tool for people’s homes in many developed countries, and my colleagues will iron their clothes neatly and nicely. Because it also represents a person’s image and temperament, especially on public and important occasions.
I have been using ironing boards for many years, so I am no stranger to ironing boards. I like to DIY some novelties, and one day I got the idea to DIY an ironing board — to make an ironing board, so I started to execute it.
Firstly, I learned the history of the ironing board and what the ironing board made of. So I learned that you need at least 3 things to make your own ironing board.
How to DIY Ironing Board
3 materials required for ironing board
Outer material to be an ironing board cover
This is the one that covers the outermost side. You can choose your DIY ironing board cover.
Anything is fine, but the one that is suitable is one that is thick enough not to show through and is not stretchable.
With 100% cotton, there are many fabrics with such characteristics.
Quilting for cushioning
This is applied directly to the drainboard to fill the gaps in the drainboard and to provide cushioning so that it can be easily ironed.
Any quilting is fine, but a slightly thicker one will also give you sufficient cushioning. Regarding the size, the length of the vertical is the same as that of the sword. Only the horizontal and the drainboard plus 20 cm will be enough.
Board
Please find your favorite size at home improvement stores.
At that time, there is only one caveat. Choose a drainboard with a narrow gap.
If the gap is wide, a groove will be created and it will not be able to function as an ironing board.
It was easy to make with 3 items, so I thought I should record it.
Please do not worry. The ironing board can be done in 10 minutes, so …
The self-made ironing board to be introduced is more professional than the commercially available household ironing board in the following three points.
Flat
As mentioned earlier, this is because it can be pressed flat against the fabric, so it can be neatly straightened and the seam allowance can be cracked.
Structure that allows heat and steam to escape easily
Since the drainboard is the base of the self-made ironing board, it is easy for heat to escape and the iron frame with a larger gap absorbs the steam of the iron.
Size
The size can be anything depending on the drainboard you prepare first.
When not in use, it can be stored upright in the gap, so it doesn’t matter if it’s a little big.
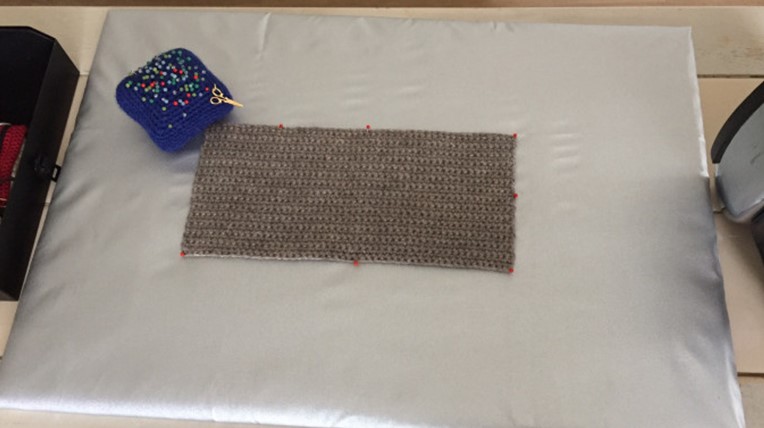
Before that, I heard a voice asking what the ironing board for knitting is different from the usual one, so I would like to say that it is used by sticking a pin as shown in the above picture. And after ironing, letting it cool and leave it as it is is also different from ironing ordinary fabrics.
Therefore, once used, the ironing board would be occupied for half a day to a day, and even if I wanted to hang something else, I couldn’t use it, so I wanted more than one.
Now start our DIY ironing board
Material
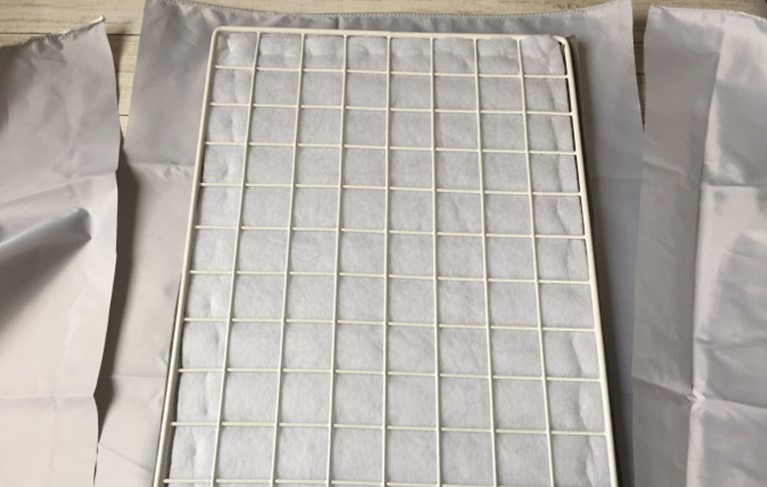
Wire net approx. 44 x 29.5 cm 1 piece
Felt 70 x 60 cm 2 pieces
Ironing board cover 1 square
Quilt core 60 x 50 cm (what was in the house)
Tool
Durable thread and needle, scissors, etc.
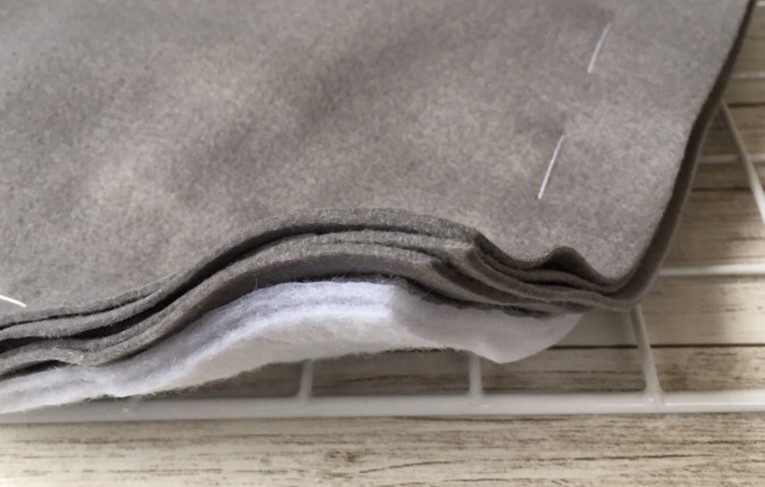
Cut the felt and quilt core to the size of a wire net and sew them on top of each other so that they do not shift. I will cover it, so this is a rough sketch.
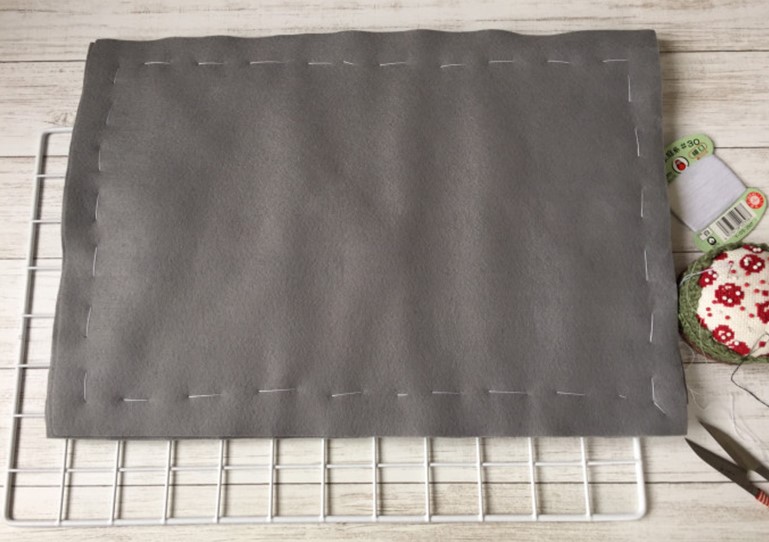
Next, sew the stacked felts onto the wire net. I forgot to take a picture, but I sew one stitch at a time so that it doesn’t shift again.
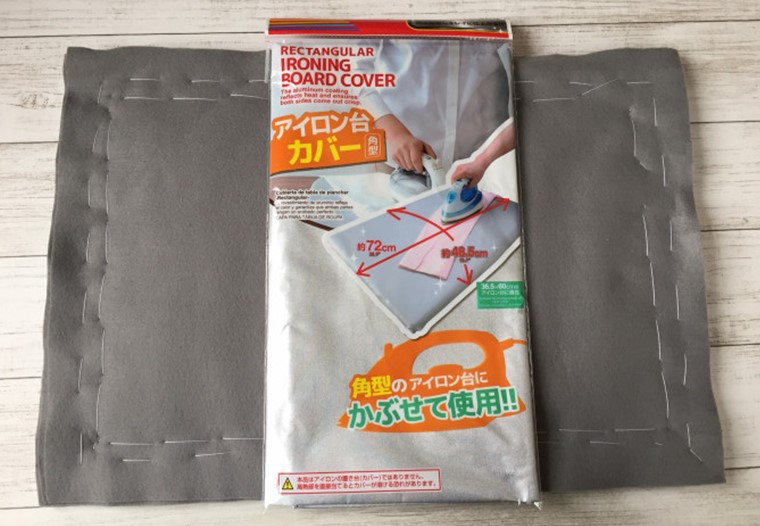
Finally cover the ironing board cover – how to make an ironing board cover.
I hope there is something useful.
I knew it, but it was too big.
Even if I turn it over, it’s fluffy. I have to do something about it.
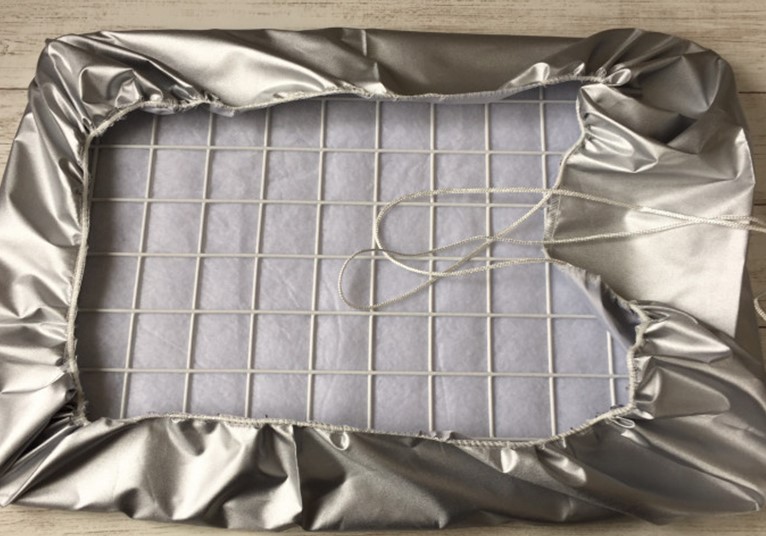
I’m just taking pictures like this. I cut the side of the cover.
I want the front cover to be taut, so cut off the excess and folded edge.
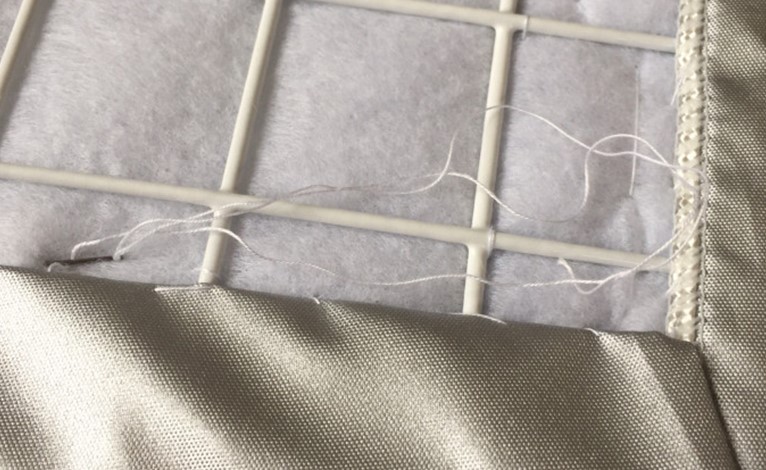
I will sew it. There was a wire, it was strange if the thread came out on the front, and it was extremely difficult to sew, so this was the most difficult part. I wasn’t sure if it was a festival sewn, but it’s something I use myself, and I hope it can be sewn.
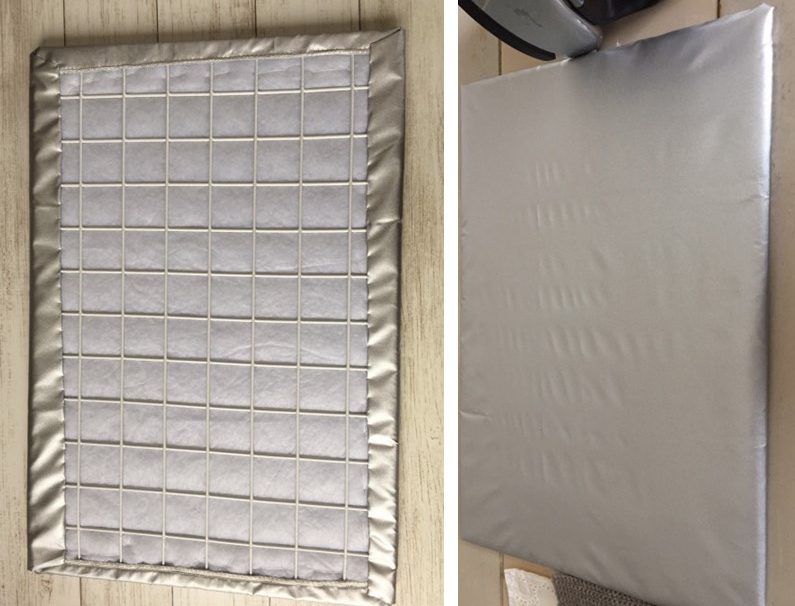
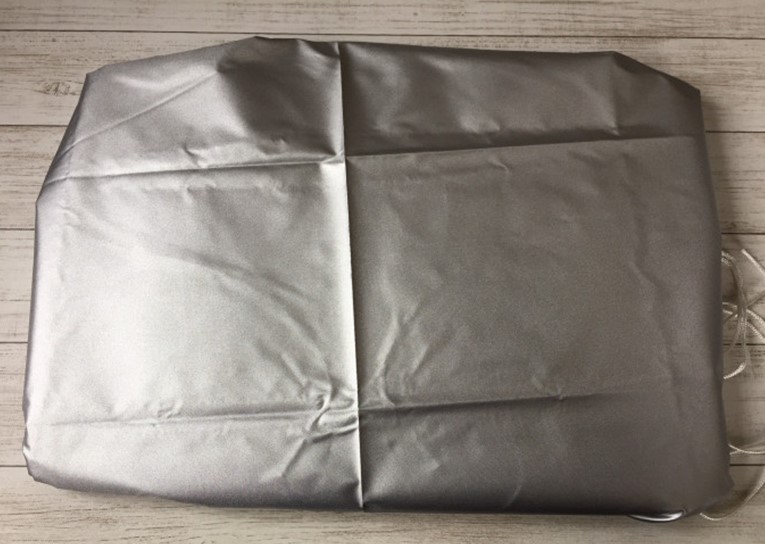
When I put a handkerchief on it, it turned out to be pretty clean. What a miracle ironing board cover!!! I am satisfy with it.
Ironing is more important than sewing machine
You may have noticed that the story of ironing has been so hot.
In fact, ironing is more important than the sewing machine process! I can say enough. The reason is that if you don’t iron the fabric, it doesn’t make sense to sew it cleanly with a sewing machine of sewing room.
The seam allowance that is always sandwiched between the ground preparation before cutting and the sewing work with the sewing machine has a great influence on the finish of the work.
A work that is sloppy with iron is somewhat twisted and does not come off.
On the other hand, if the iron is working well, the work will be smooth and smooth.
You can learn by yourself about how to make a fold-down/pull-down / wall-mounted ironing board base on my DIY also. But it seems to need more tools.
Of course, most of the homemade ironing boards are not as good as the professional ironing boards to achieve excellent ironing, so if you are after the ultimate effect on things, I would still suggest that you can just buy one instead of making your own ironing board.