
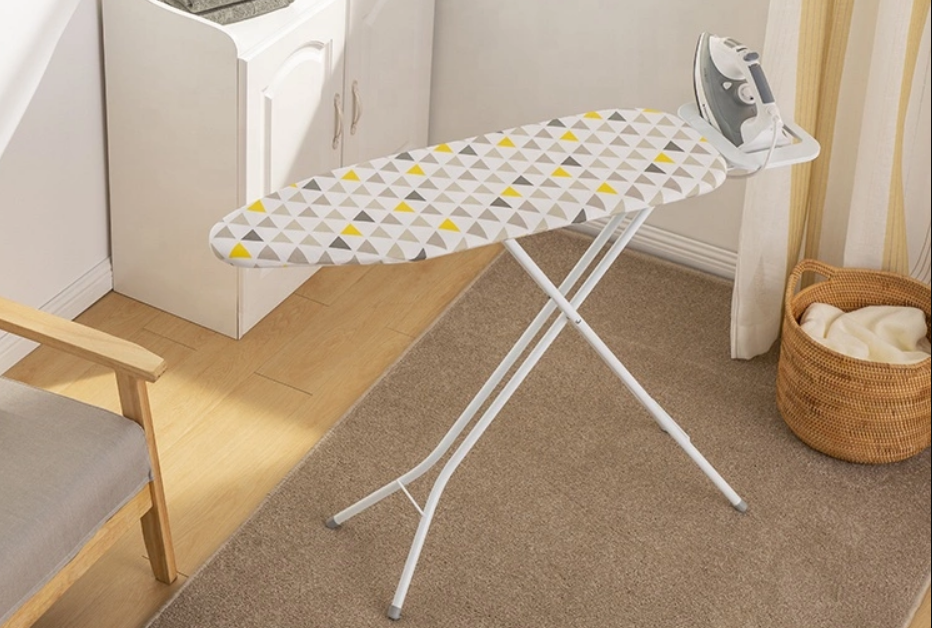
The metal ironing boards available at most places are more than efficient. They are everything we need for successful ironing sessions every day. To suffice the needs of people of different needs, ironing board manufacturers avail ironing boards of various types and sizes.
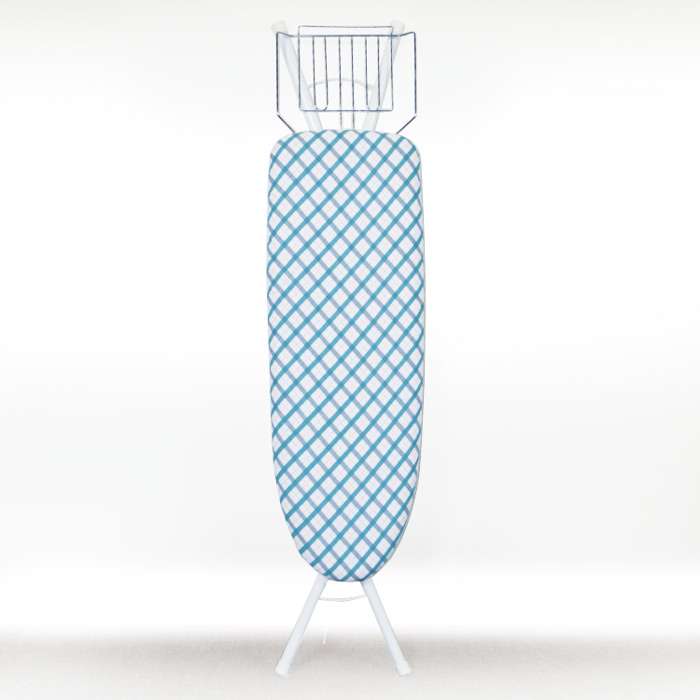
But there are times when we are not satisfied with the board design or size. Instead of the typical metal ironing board, we need something bigger and broader. We need a rectangular ironing board. You can switch to a whole new square ironing board that is just as big. You might feel frugal to spend more bills on curating a new rectangular ironing board. With little work and some simple tools, you can DIY your square ironing board. Besides, you can convert your metal ironing board into a pressing board.
 Why DIY Pressing Square Ironing Board?
 Why DIY Pressing Square Ironing Board?
The ironing boards padded with thick foam are a perfect base for starching your clothes to be wrinkle-free. The foam squishes when pressed while ironing. The wiggling and squishing of the base are perfectly fine while ironing clothes. But the pressing boards are ways better for preparing fabrics for sewing and quilting. While you change your metal ironing board into a rectangular ironing board, why not go ahead and work on the pressing board too. It will be like hitting two birds with a single stone.
Convert Ironing Board to Pressing Board
As mentioned above, a couple of tools with some supplies are all you need to convert your ironing board into the square ironing board. Here’s what supplies you might require while you DIY a rectangular ironing board.
- Supplies
- Metal ironing board (frame)
- Plywood (same as the size you want)
- Cotton canvas (2” larger than plywood on all sides)
- 100% cotton batting
- Staples (shorter than the depth of plywood)
- Screws
- Tools
- Measuring tape
- Staple gun
- Electric Drill
- Drill bit
- Jigsaw (optional). You can also have a hardware store cut the plywood as per your requirements.
- Sandpaper
Once you have all the aforesaid supplies with you, it is just a matter of time before you have your rectangular ironing board.
- Instructions
- Cut the plywood according to the size of the square ironing board you want to create. Use sandpaper to smooth the edges.
- Lay the metal ironing board on the cut plywood. Mark the holes for screws to attach the board with plywood.
- Using electric drill and drill bit to drill the holes for screws.
- Insert the screws in the drilled holes.
- Cut the cotton batting and canvas. Keep them 2” larger from the plywood on all the sides.
- Spread your fabric inside out. Spread the cotton batting on the fabric. Now lay the plywood upside down on the batting. Make sure that the screws on the plywood are towards you.
- Start to staple the fabric and batting on the wood. Start with the middle of each side and work on corners in the end.
- Adjust the newly created pressing board on the metal ironing board. Insert the screws in the holes you marked earlier.
- Add the washer and nut on the screws. Tighten them all.
- You have your DIY square ironing board ready. Admire your work and start using the rectangular ironing board you customized.