
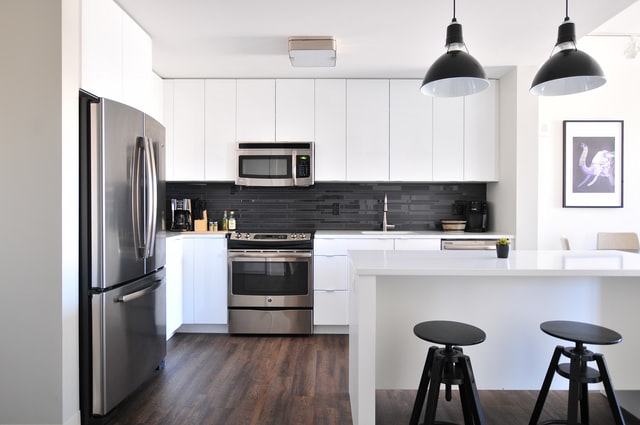
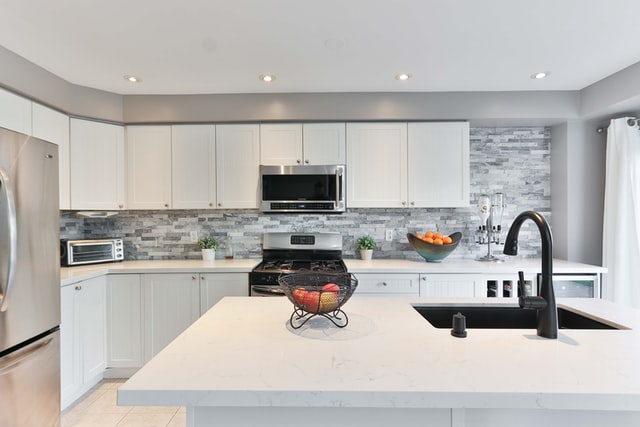
Installation Steps for Integrated Kitchen cabinets
The philosophy of simple and convenient living of minimalists may exist in every aspect, such as home design. Even as one of the busiest rooms in the home, a kitchen can also be simple, neat with an integrated style that blends, called the integrated kitchen. This an increasingly popular design in today’s kitchen renovation market, adding a stunning aura to your home. While you will need to hire a professional team to install the integrated cabinets, understanding the basic installation steps is necessary.
How to install the integrated kitchen cabinets?
1. Base Cabinets
The installation of integrated kitchen cabinets usually starts with the installation of base cabinets. Installers will use the leveling instrument and wall measurement to measure the ground level and adjust the level of cabinets based on the measurement result. If the cabinets are not on a level, the gap distance between the cabinet doors can not be the same. Installers need to pay attention to the connection between cabinets. For example, at least four connection parts are required for the base cabinets to ensure a tight and solid installation.
2. Wall cabinet
After the installation of the base cabinet, the next step is to install the wall cabinets. To ensure that the expansion bolts are placed horizontally, installers need to draw a horizontal line in the wall. In general, the distance between the horizontal line and countertop should be 650 mm, which can be adjusted according to the height of kitchen users in order to facilitate future use. Connectors are also required to ensure that the connection is tight. The wall cabinets should remain horizontal to guarantee a perfect appearance of the integrated kitchen.
3. Countertop
It is inevitable that dimensions errors occur in the cabinet design plan. Leave a period of time to allow your kitchen designer to adjust the dimension for the countertop after finishing the installation of base cabinets and wall cabinets. At present, man-made stone and natural stone countertops are popular. The bonding time, the amount of glue and the degree of polishing will affect the beauty of the countertop. Installation of countertops in the summer generally takes half an hour while the winter requires at least an hour.
4. Kitchen cabinet hardware
Integrated kitchen sink, faucet, and pull-out baskets are also significant parts of the kitchen. When installing wall cabinets and countertops, installers should prevent wood chips from falling into the slides of pull-out baskets.
5. Cooking appliances
The distance between range hoods and cooktops is generally between 750-800mm. The range hood should be aligned with the top of the stove. And the height of the hood can be adjusted according to the user’s need. The most important thing to install the stove is to make sure the gas source does not leak. This step is usually assigned by the gas company. If the cooking appliance is installed by renovators, you also need to have the gas company come to your home to test whether there are gas leaks.
6. Adjustment of cabinet doors
The final step is to carry out cabinet door adjustment to ensure that the cabinet door gaps are even, horizontal and vertical. The depth of a base cabinet is 550 mm in general while 300 mm for wall cabinets.
Tips about Integrated Kitchen Installation
- Installation of the whole cabinet generally requires two technicians, following the order: base cabinet – wall cabinet – countertop – faucet, integrated kitchen sink, pull-out baskets – integrated kitchen appliances.
- Clean up the ground from time to time to ensure the accuracy of the measurement before and during the installation process.
- Fill the holes of the cabinets to keep them seamless.
- Check twice when installing cooking appliances to avoid water or gas leakage.
- Base and wall cabinets must be horizontal and vertical to make a longer service life of your countertop.
- Adopt wet work in the walls and floors renovation.
- For those cabinet parts that are against the wall or susceptible to moisture, brush their surface with preservatives.