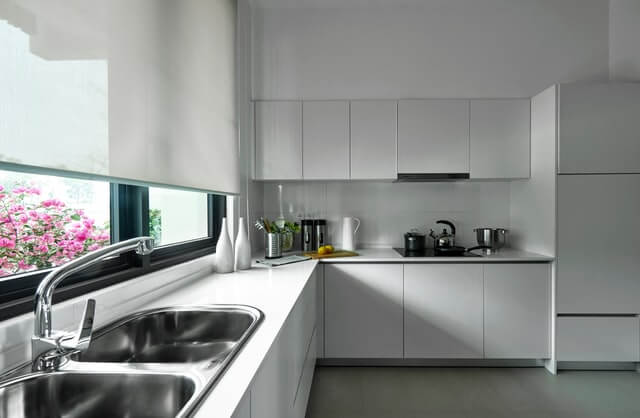
How to Reface Your Own Cabinets
Reface your own cabinets is a great way to save money and get the look you want all at once. It’s also a project that most people can do themselves with just basic skills in power tools, sanding, and painting. With this blog post, I’ll show you how to reface your old cabinets, so they look brand new.
- What You’ll Need:
The first step in re-facing your cabinets is to have a plan for what you want them to look like when finished. The materials needed will vary depending on the type of paint and treatment you choose, but generally, these are the items that will be included: sandpaper, primer or sealer (depending on how the manufacturer recommends using it), paintbrush, and/or spray paint can, cleaner where appropriate, tape where appropriate.
- Remove Cabinet Doors:
Start by removing all cabinet doors and drawers from their hinges. If there are any hinges that do not come off easily with a screwdriver or pliers, use WD-40 to loosen them up. Put the doors and drawers in a safe place where they won’t be damaged or become unusable.
- Surface Preparation:
Once all the cabinet doors and drawers are removed, it is time to prepare the surface for painting. Remove hardware such as door knobs by using an Allen wrench to loosen them up slightly, then pulling them off with pliers or your hands. Be careful not to scratch surfaces which you want to keep looking new. Once all the hardware is removed from your cabinets, sand down any finish that looks worn or peeling until smooth. Wipe away dust created by sanding with a damp cloth before moving on to cleaning with soap and water, finishing with another damp cloth to remove any remaining residue. If there are any sections where the finish is still in good condition, it can be left as-is.
- Choose a Paint Formula:
After you have prepped your cabinets for paint by sanding and cleaning, you will need to decide what type of paint or coating to use for your project. Generally speaking, oil-based paints take longer to dry than latex paints and provide better coverage; however they must be used with primer or sealer first to prevent warping of wood surfaces. Latex paints are easier to work with and clean up after using. In addition, some manufacturers make water-based finishes that provide excellent results while being environmentally friendly and easy to clean up without using chemicals as turpentine. Make sure you clean any leftover residue from your cabinets with water when using a latex paint.
- Apply Primer or Sealer:
Your decision on what type of paint to use should be based on the condition of the existing finish, how much work needs to be done (sanding down) and whether you want to repaint and change out hardware such as cabinet door knobs. Once you have decided on your paint formula, apply a primer or sealer according to manufacturer’s instructions before painting.
- Tape Off Areas You Don’t Want Painted:
Once the primer or sealer has dried completely, tape off all areas that are not going to be painted by placing mask tape over the top and bottom of the cabinet doors as well as around the insides and outsides.
- Apply First Coat of Paint:
Apply the first coat (usually a primer) to your cabinets according to manufacturer’s instructions. Allow ample time for it to dry before continuing on with subsequent coats. Lighter coats are recommended after priming, sealing or sanding smooth surfaces than might be required in other situations.
- Continue painting:
Continue applying coats of paint until you achieve desired results, allowing enough time for each coat to dry before applying additional ones if necessary. You may wish to lighten up some paints with an additional primer coat first in order to ensure that finishes match well across color changes or between new and old cabinets.
- Replace Hardware:
When painting is complete and you are satisfied with the results, replace cabinet hardware such as hinges, knobs, pulls and any other items that were removed previously for painting purposes. Make sure to use a matching finish for all of your hardware to make it blend in seamlessly with the newly painted cabinets.
- Clean Up:
Remove the masking tape from around door edges and wipe down cabinets using a damp cloth before wiping them again with a dry cloth to remove any remaining residue or dust particles from cleaning and removal of masking tape. Throw away used rags appropriately so they are not a fire hazard or environmental hazard.
That’s it! Now go paint your cabinets with these tips in mind.

