
Make an ironing board cover from 100% cotton over a cotton batting or wool felt pad. Trace the board face down onto the fabric, add about 3 in (7.5 cm) of wrap allowance all round plus about 1-1/2 in (4 cm) for a drawstring casing, stitch the casing, thread a cord, and tension it under the rim.
Key facts
- Use 100% cotton for the face. Blends can shine, glaze or melt under a hot soleplate.
- Pad with cotton batting or wool felt. Polyester wadding flattens and can melt.
- Allow roughly 3 in (7.5 cm) of wrap plus about 1-1/2 in (4 cm) for the casing.
- A full-size board is commonly about 15 x 54 in (38 x 137 cm), so roughly 1-3/4 yd (1.6 m) of 44 in (112 cm) cotton usually covers it.
Which fabric and pad materials actually work
Material choice decides whether the cover survives a hot soleplate or ruins a shirt. Cotton is the only face fabric worth using: it takes heat, breathes and washes. The pad has to hold loft and tolerate heat, which rules out most craft foam.
| Layer | Material | Why |
|---|---|---|
| Board top | Perforated or mesh steel | Vents steam, so keep solid film off it |
| Base pad | Cotton batting or wool felt | Holds loft, tolerates heat, cushions seams |
| Optional reflective layer | Metallised cotton, silver side up | Returns heat into the garment; sits above the pad |
| Cover face | Medium-weight 100% cotton, tightly woven | Takes a hot soleplate without shine or melt |
| Edge closure | Cotton drawcord or 1/4 in (6 mm) elastic | Pulls the cover tight so it cannot ruck |
Skip foam, fleece and quilted synthetics, which compress permanently or soften at ironing temperature.
Step-by-step
Step 1 — Strip the board and check the pad
Remove the old cover and the pad beneath it. Press the pad with your thumb: if it does not spring back, replace it. Wipe the board top and let it dry. Pre-wash and press your new cotton before cutting, or it will shrink out of shape later.
Step 2 — Trace the board face down onto the fabric
Lay the cotton wrong side up on a clean floor. Set the board upside down on it, nose towards one end to save fabric. Draw around the outline with tailor’s chalk, holding the board still so the line does not drift. Mark the nose and tail ends.
Step 3 — Add the wrap and casing allowance
Measure outwards from the traced line and mark a second line. Allow roughly 3 in (7.5 cm) to wrap under the rim, plus about 1-1/2 in (4 cm) for the casing, checking both against your board’s rim depth. Cut the outer line with fabric shears.
Step 4 — Cut and lay the pad
Cut the pad on the traced line with no wrap allowance, so it sits flat on the top without bulking the edge. Add a second layer over the nose if that area is worn. Lay the pad on the board, then any reflective layer, silver side facing up.
Step 5 — Fold and stitch the casing
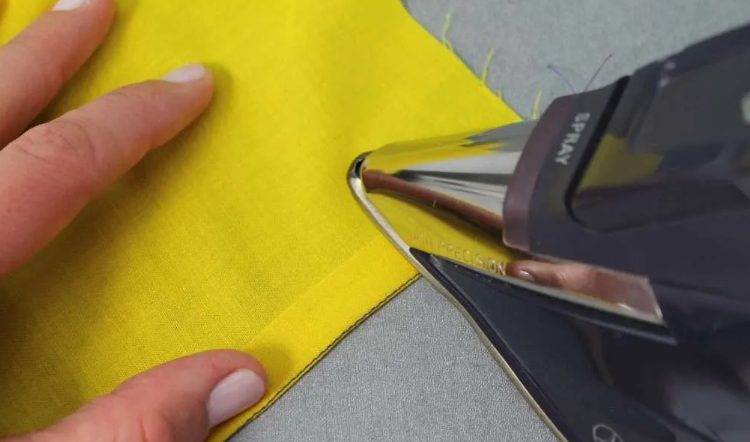
Notch the curved edges every few inches so the allowance lies flat. Fold the raw edge under twice, press with a dry iron and pin. Stitch close to the inner fold with cotton thread, leaving a 2 in (5 cm) opening at the tail to feed the cord.
Step 6 — Thread the cord and fit the cover
Fasten a safety pin or bodkin to cotton twill tape or 1/8 in (3 mm) cord and work it through the casing. Lay the cover over the pad while the fabric is slightly damp, center the nose, and draw both cord ends up until it sits snug.
Step 7 — Tension, test and trim
Pull the cord evenly from both ends, working outwards from the nose so no ruck forms. Lock it with a cord stop and tuck the tails under. Heat the iron to your usual cotton setting and press a scrap first to check for scorch or shine.
A no-sew version that still fits tight
You can build a working cover without a machine, and it will fit better than a loose elasticated one. Cut the same traced shape with the same wrap allowance, then form the casing with fusible hemming tape instead of stitches: fold the raw edge over the tape, press with a dry iron at the tape’s stated setting, and leave a 2 in (5 cm) gap to feed the cord. Thread cotton twill tape with a safety pin, pull it tight under the rim, and lock it with a cord stop. Notch the fabric at the nose and tail before folding, or the allowance bunches into a ridge.
Scorch, adhesives and the mistakes that ruin a cover
Two failures spoil most home-made covers. The first is heat. A synthetic face melts onto the soleplate and a synthetic pad hardens underneath, so test any unknown fabric on a scrap at the setting you use. The second is adhesive. Spray glue, hot glue and duct tape all soften near ironing temperature, and glue that reaches the face fabric bakes into a brown patch. Fusible hemming tape is the one adhesive made for this, so press it rather than slide across it. Two smaller errors: cutting the wrap allowance too short, so the cover creeps off the nose, and stitching the casing so tight the cord will not run.
When buying a replacement cover beats making one
Making pays when the board is an odd size, when you want a particular fabric, or when the frame is sound and only the soft parts are tired. Buying wins when the board is a standard size and the maker still lists parts, because a factory cover arrives with a matched pad and a closure sized to the rim. For fitted units the case is stronger again: a built-in ironing board or a wall-mounted board folds into fixed clearances, so an over-thick home-made pad can stop the board closing. Measure that closed gap before adding loft. If the frame itself is the problem, check the component breakdown in are expensive ironing boards worth it.
Frequently asked questions
How often should you replace an ironing board cover?
When the pad no longer springs back under your thumb, when seams begin printing through onto garments, or when scorch marks transfer to light fabric. Washing buys time on staining but does nothing for a flattened pad, so replace pad and cover together.
Can you wash a homemade ironing board cover?
Yes, if you used 100% cotton and pre-washed the fabric before cutting. Skipping that is why home-made covers shrink out of shape the first time. Wash cool, skip the dryer, and refit the cover slightly damp so it tightens as it dries.
What can you use instead of batting for the pad?
Wool felt is the closest substitute and handles heat well. A cotton blanket or several layers of cotton towelling also work, provided they are clean and completely dry. Avoid foam, fleece and polyester wadding, which compress permanently, and never use anything with a plastic or rubber backing.
Should a homemade cover have a heat-reflective layer?
Only if you press a lot of heavy cotton and your board vents. The layer goes above the pad and below the cover, silver side up. On a solid top it can trap moisture, which matters most if you also use a garment steamer.
About Venace
Venace Intelligent Technology Inc. focuses on built-in, wall-mounted, fold-down and folding pull-out ironing boards for distributors, cabinet manufacturers, contractors, hospitality projects and OEM/ODM buyers. Review the VENACE ironing board range or contact the team with your product type, installation space, target quantity and destination market.